Hugo搭建博客
与美化
使用hugo+FixIt主题,内容待完善
前期准备
1)下载 hugo: https://github.com/gohugoio/hugo 选择合适版本,建议下载 extended 版本
2)下载 git: https://git-scm.com/ 选择合适的版本下载安装
创建博客
hugo 参考文档: https://www.gohugo.org/
在hugo 所在文件夹地址栏输入 cmd 打开终端
输入命令生成站点:hugo new site /path/to/site
hugo.exe 文件粘贴至生成的博客文件夹才能运行 hugo 命令,建议还是设置环境变量,可参考xxx使用 hugo server -D 命令启动服务并且实时预览,浏览器输入 http://localhost:1313 访问,ctrl+C 终止服务
使用FixIt主题
本博客使用的是FixIt主题,根据主题文档进行配置即可,对于主题我自己的选择的优化可查看xxx
GitHub自动部署
静态网页
hugo -D 生成public文件夹,将public文件夹传至一个仓库,git命令如下:
|
|
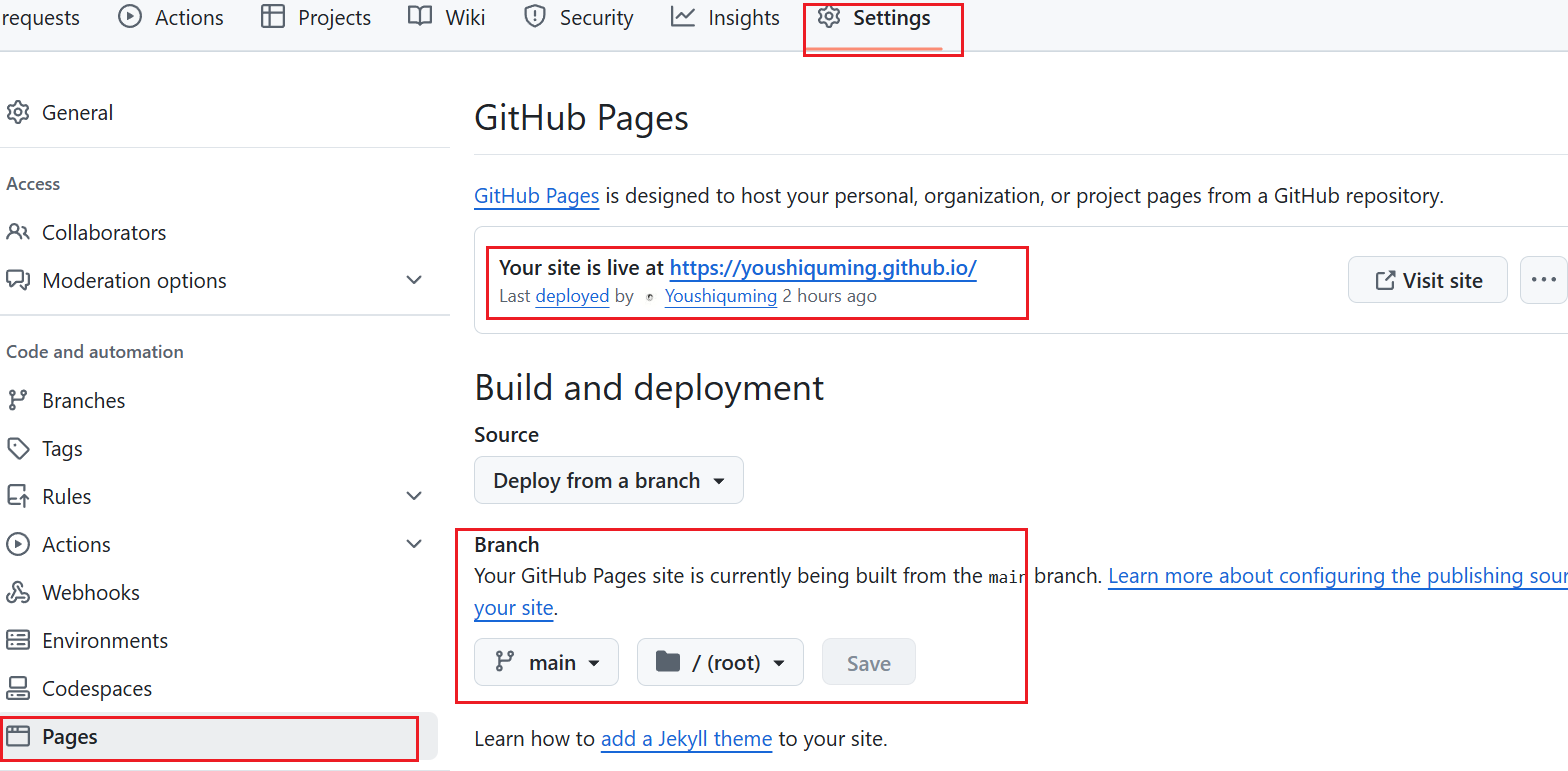
在仓库 Setting -> Pages -> Branch 中,如下设置(ps:其实不用改,进入 pages 后稍等即可看见生成的网站)
等待生成后即可访问网页,成功搭建!
使用action自动编译推送
-
新建另一个仓库,建议设置私有。
-
在个人
Setttings -> Developer Settings -> Personal access tokens,创建一个token(classic即可),名称任意,勾选repo和workflow。 -
将生成的token保存在仓库变量中,
Settings -> Secrets and variables -> Actions中设置。 -
在根目录创建
.github/workflows/xxxx.yaml文件,写入下方内容,想了解更多可访问GitHub action文档1 2 3 4 5 6 7 8 9 10 11 12 13 14 15 16 17 18 19 20 21 22 23 24 25 26 27 28 29 30 31 32 33 34 35 36 37 38name: deploy # 代码提交到main分支时触发github action on: push: branches: - main jobs: deploy: runs-on: ubuntu-latest steps: - name: Checkout uses: actions/checkout@v4 with: fetch-depth: 0 # 如果使用模块需要更新submodules - name: Update Submodules run: git submodule update --init --recursive - name: Setup Hugo uses: peaceiris/actions-hugo@v3 with: hugo-version: "latest" extended: true - name: Build Web run: hugo -D - name: Deploy Web uses: peaceiris/actions-gh-pages@v4 with: PERSONAL_TOKEN: ${{ secrets.BLOGTOKEN }} EXTERNAL_REPOSITORY: Youshiquming/Youshiquming.github.io PUBLISH_BRANCH: main PUBLISH_DIR: ./public commit_message: auto deploy -
根目录创建
.gitignore文件,避免提交不需要文件1 2 3public resources .hugo_build.lock -
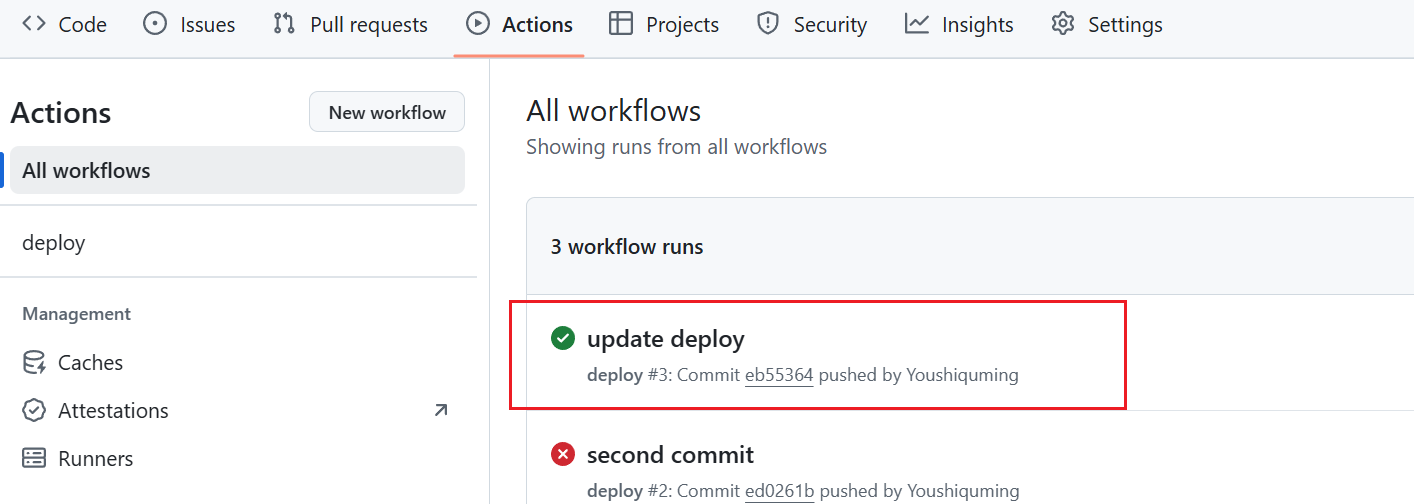
主文件上传仓库,上传后触发GitHub action自动部署
1 2 3 4 5 6git init git add . git commit -m "first commit" git branch -M main git remote add origin {仓库} git push -u origin main上传后可查看Actions查看是否成功
结合CloudFlare使用
前提:注册账号